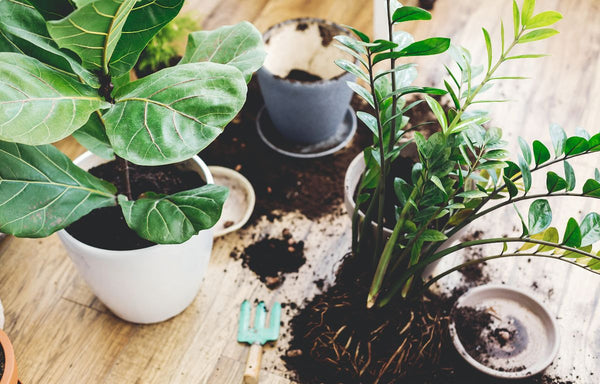
Fiddle Leaf Figs (Ficus lyrata) have become a favorite among houseplant enthusiasts across the U.S., known for their strikingly large leaves and ability to elevate any indoor space. However, maintaining their health requires more than just watering and sunlight—repotting plays a vital role in helping these plants thrive.

Why Repotting is Essential
Repotting isn’t just an occasional chore for your Fiddle Leaf Fig; it’s critical to ensure its long-term health and growth. Here’s why:
Room for Root Expansion
As Fiddle Leaf Figs grow, so do their roots. Over time, the roots can outgrow the pot, becoming root-bound. In this state, they may wrap tightly around themselves, restricting the plant's access to water and nutrients. Repotting gives your plant the space it needs to expand its root system and grow properly.
Nutrient Renewal
The potting mix your plant sits in will gradually lose its nutrients as the plant absorbs them. Repotting allows you to replace the depleted soil with a fresh, nutrient-rich mix, helping your Fiddle Leaf Fig stay vibrant and healthy.
Pests and Disease Control
Soil in pots can harbor pests like spider mites or diseases that damage the plant over time. Repotting gives you a chance to inspect and clean the root system and eliminate any potential problems before they escalate.

When is the Best Time to Repot Your Fiddle Leaf Fig?
In the U.S., the best time to repot is in spring or early summer. This is when the plant is actively growing and can adjust more quickly to its new pot. Avoid repotting in the colder months, especially winter, when the plant's growth slows down.
Step-by-Step Guide to Repotting
Now that you understand why repotting is crucial, let's walk through the process to ensure your Fiddle Leaf Fig thrives in its new home.
Step 1: Gather Your Supplies
Here’s what you’ll need for a successful repotting:
- A new pot with drainage holes, 2-4 inches wider than the current pot.
- Well-draining potting soil suitable for indoor plants.
- Pruning shears or scissors.
- Gloves.
Step 2: Prepare the New Pot
Start by filling the bottom of your new pot with a fresh layer of potting soil. Make sure the pot has drainage holes to prevent overwatering, which can lead to root rot.
Step 3: Remove the Fiddle Leaf Fig from Its Current Pot
Carefully tilt the plant to one side and gently tap the pot to loosen the root ball. Support the base of the stem with your hand and slide the plant out. If the roots seem compacted, gently loosen them to encourage growth.
Step 4: Prune the Roots
If you see any tangled or excessively long roots, use your pruning shears to trim them. Removing dead or damaged roots helps promote new growth and keeps your plant healthier.
Step 5: Place the Plant in the New Pot
Position the plant in the center of the new pot. Fill in around the edges with fresh soil, making sure the plant sits at the same depth as it did in its previous container. Gently press the soil down to secure the plant.
Step 6: Water the Plant
Water the plant thoroughly until you see water draining from the bottom. This helps to settle the soil and remove any air pockets. Be careful not to overwater, as excess moisture can cause root rot.
Step 7: Post-Repotting Care
After repotting, place your Fiddle Leaf Fig in a location with bright, indirect light. Water when the top inch of soil is dry, and avoid fertilizing for about a month to give the plant time to adjust. Keep an eye out for any signs of stress, such as drooping or yellowing leaves, as the plant adapts to its new pot.